How To Upload Code To ESP32
This guide explains how to upload a program to the ESP32 development board using the Arduino IDE. The steps below cover hardware connection, driver installation, board configuration, uploading firmware, and serial monitoring.
The video below demonstrates how to upload code to an ESP32 development board using the Arduino IDE:
Below is a detailed step-by-step tutorial with images:
1. Prepare the Hardware
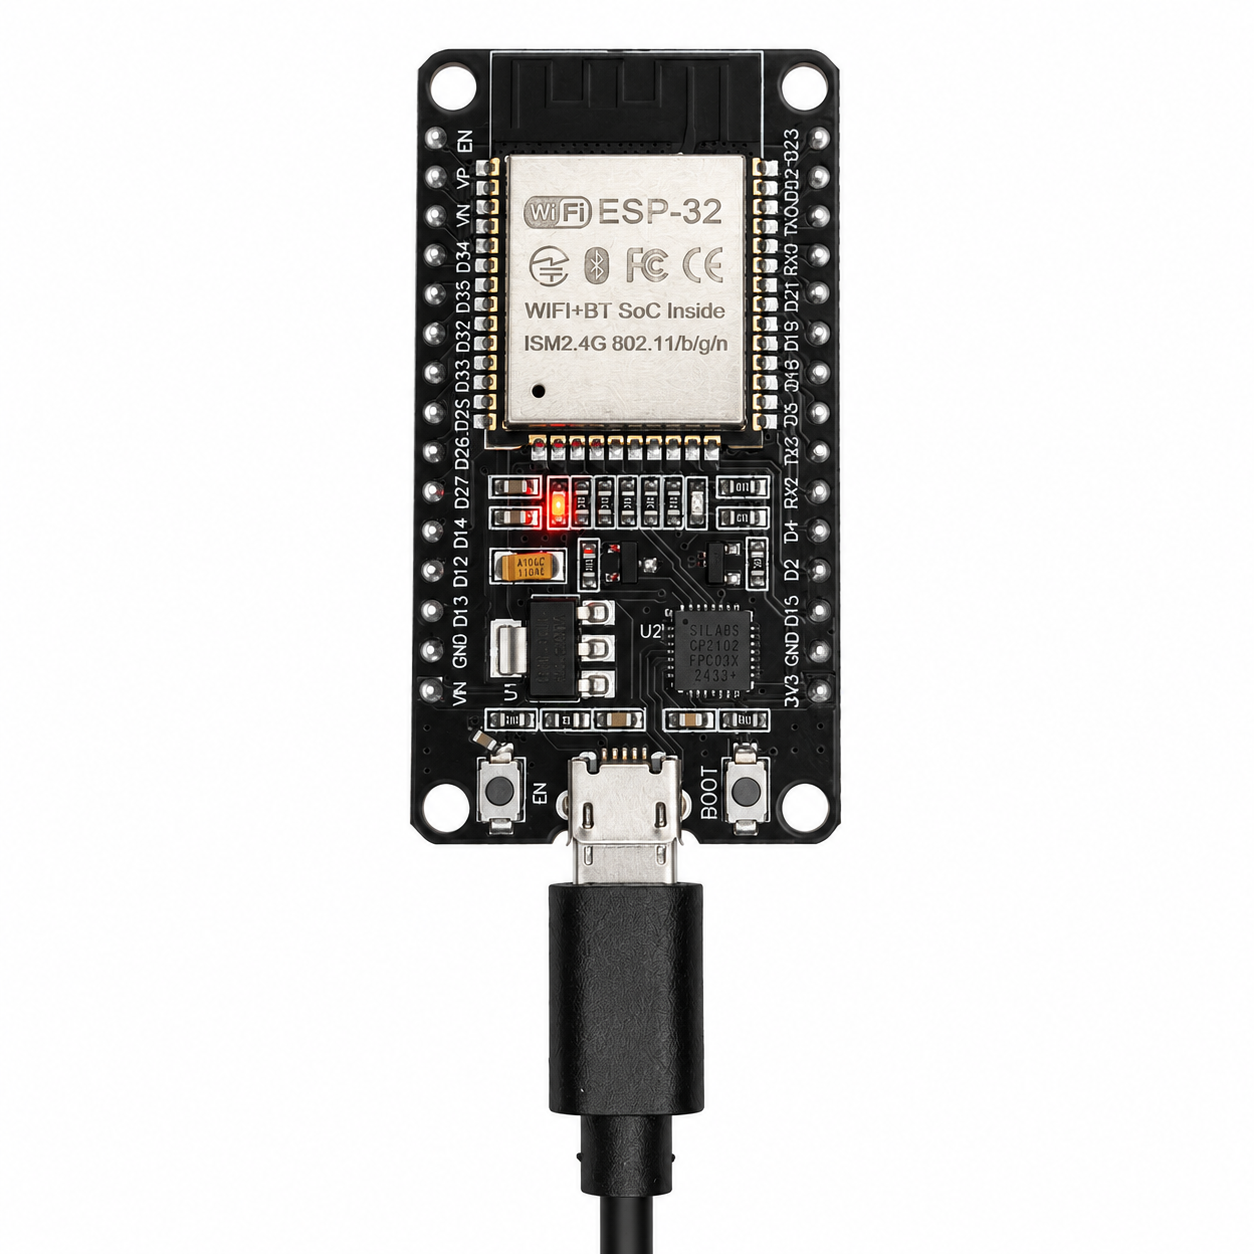
Before uploading code, connect the ESP32 board to your computer using a USB cable.
Connect the ESP32 board to the PC with a USB cable.
Make sure the board is powered on and the USB cable is not loose.
If the board is not detected, check the USB cable and the driver installation.
Note
ESP32 boards have a BOOT or EN button. If the board is not responding, press and hold BOOT while clicking Upload, then release it when the upload begins.
2. Open Arduino IDE and Select the Board
Launch the Arduino IDE.
Open the example sketch or your own program.
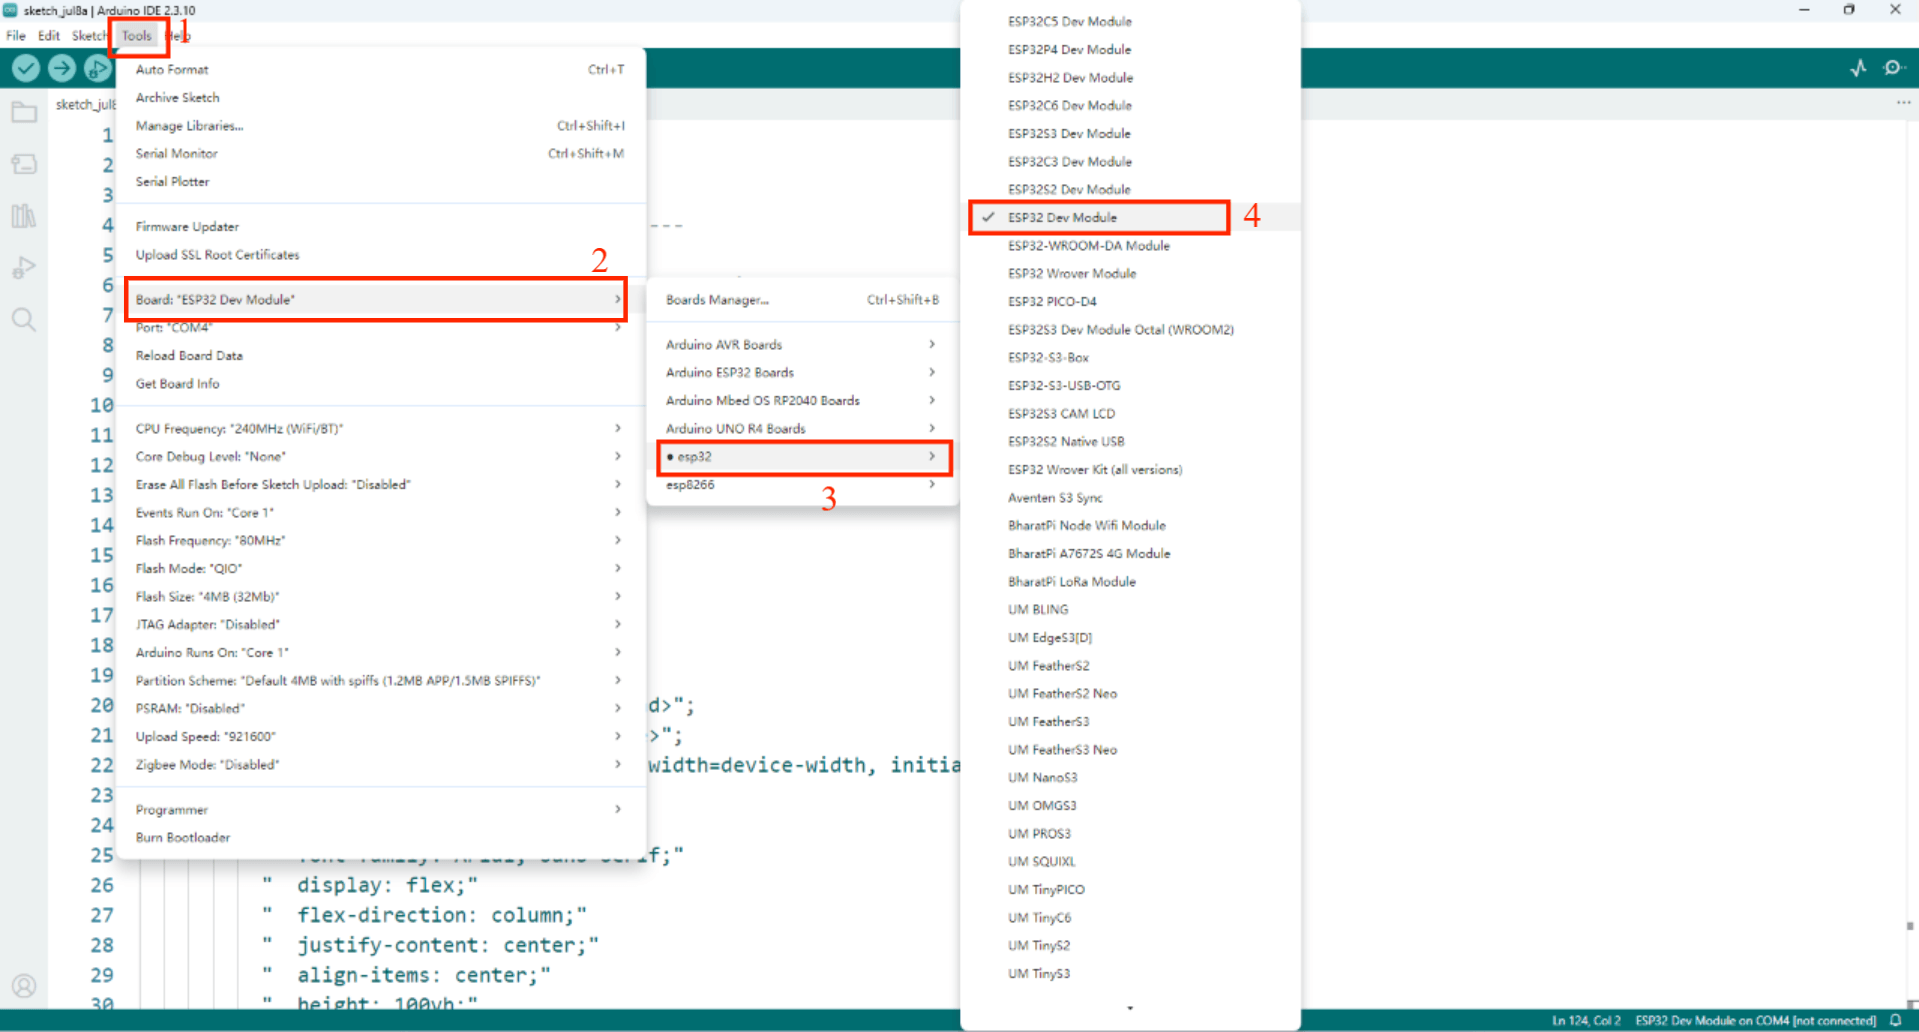
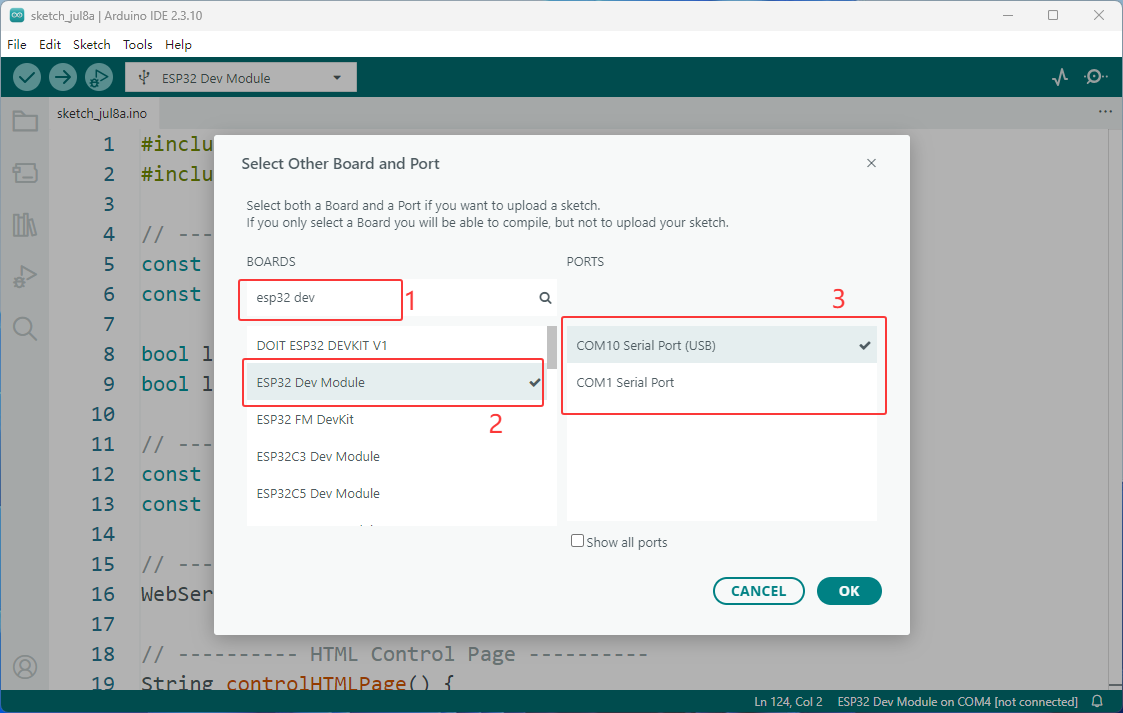
In the menu bar, click Tools → Board → esp32 and select the correct ESP32 Dev Model.
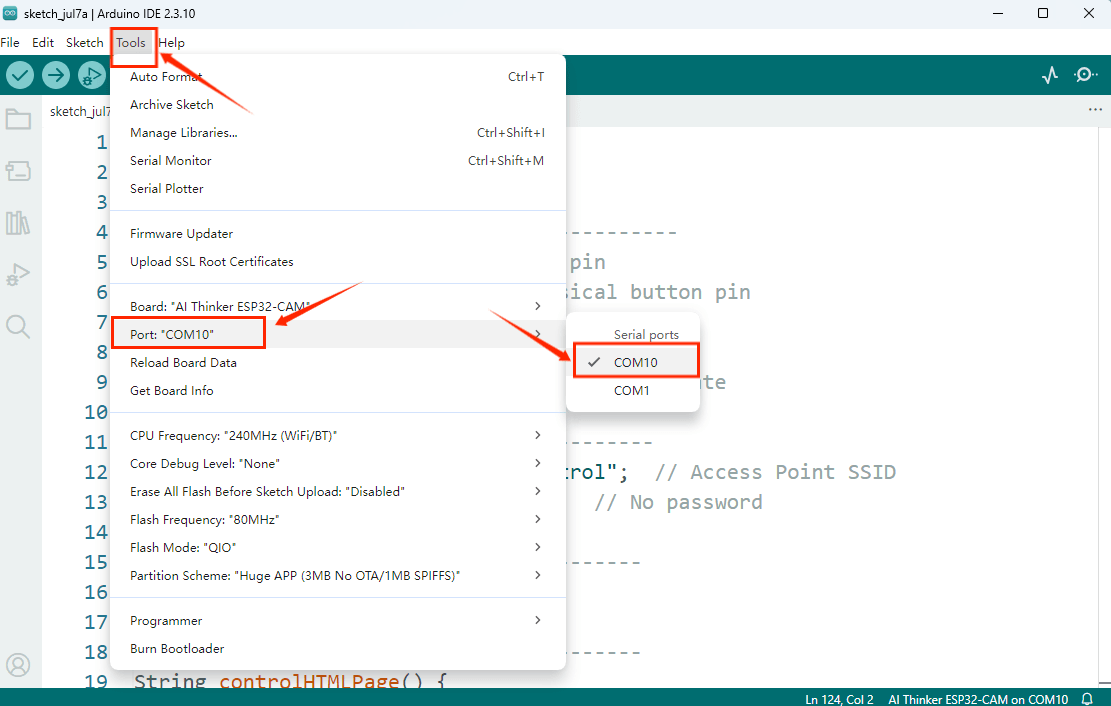
In Tools → Port, choose the COM port that belongs to your ESP32 board.
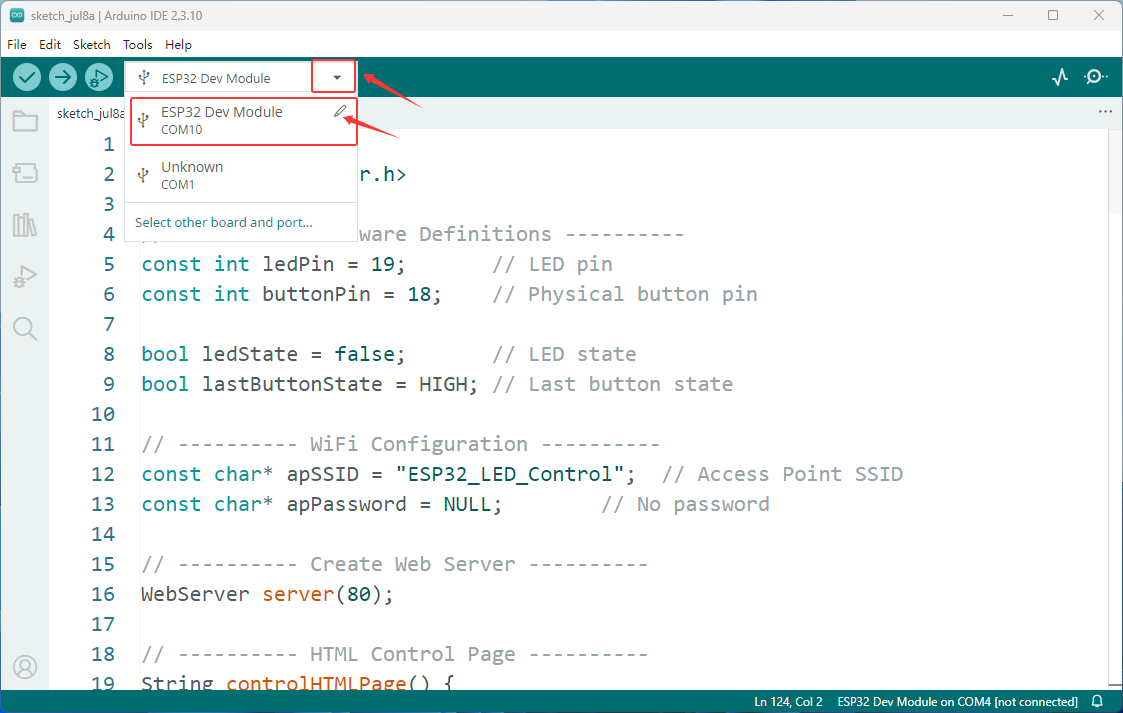
You can also select the development board and port in the top-left corner of the interface; the specific steps are shown in the image.
Note
If you cannot find the development board or the port does not appear, please first check whether the ESP32 core package and the corresponding serial port driver are installed. Click 2. Install Serial Port Tool to go to the installation tutorial.
If multiple COM ports appear, unplug and reconnect the board to identify the correct one.
3. Verify the Program
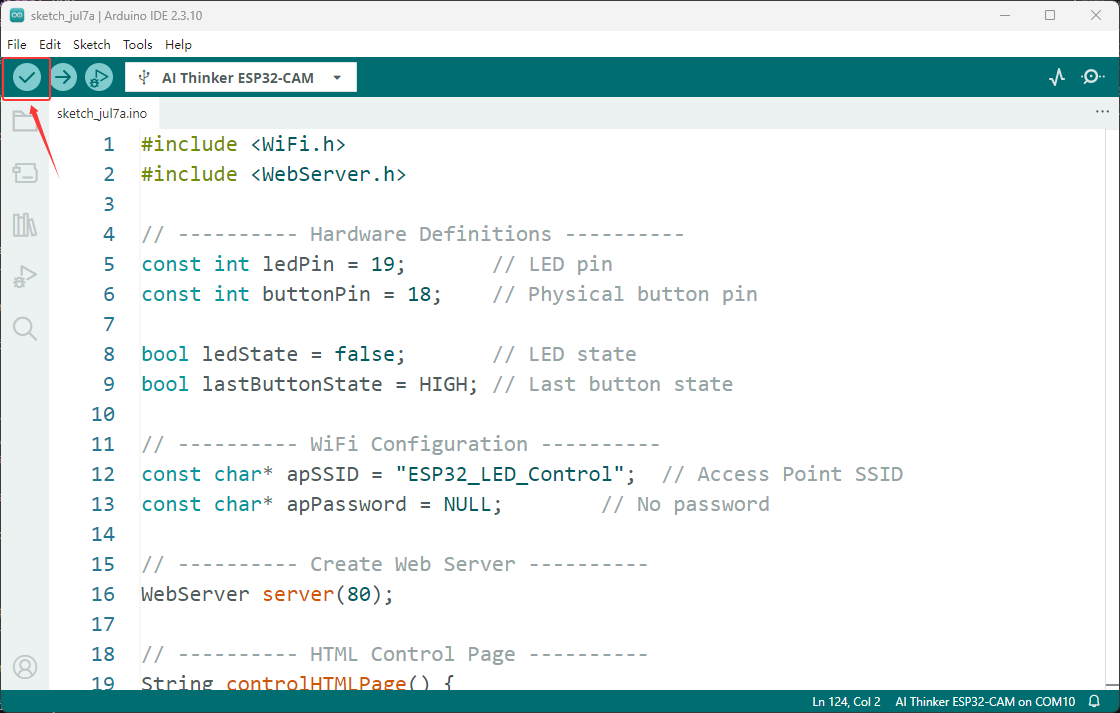
Before uploading, you should verify that the sketch compiles.
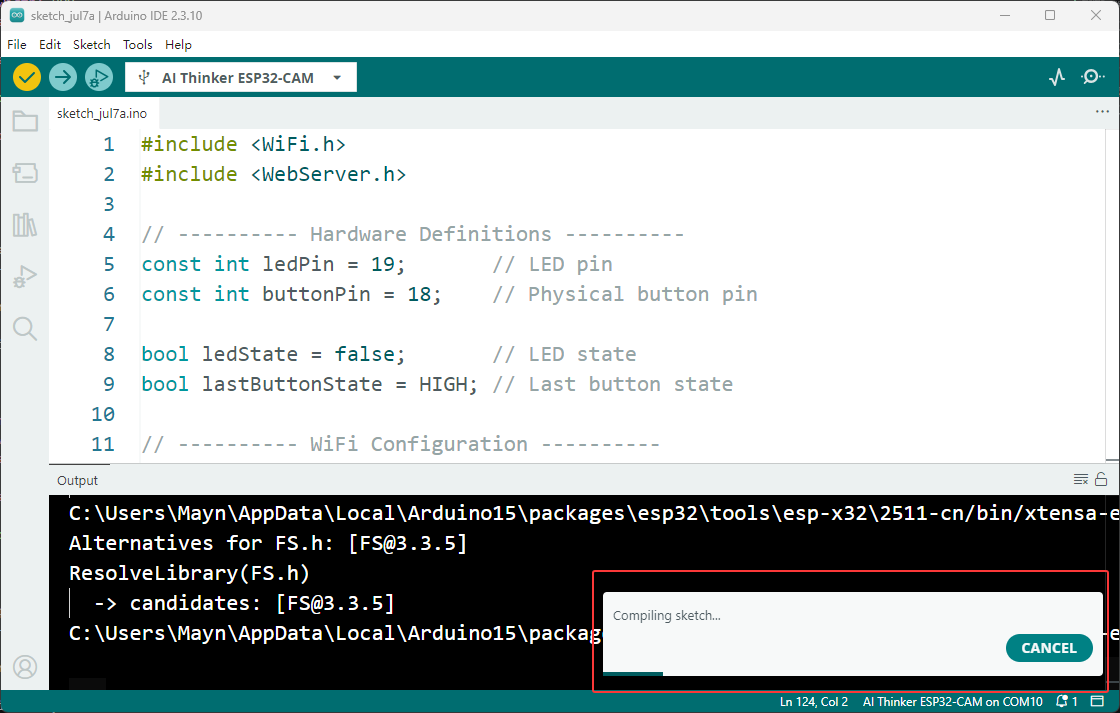
Click Verify in the Arduino IDE.
If there are no errors, the compilation will finish successfully.
If errors appear, check the code, library version, and board selection.
4. Upload the Program
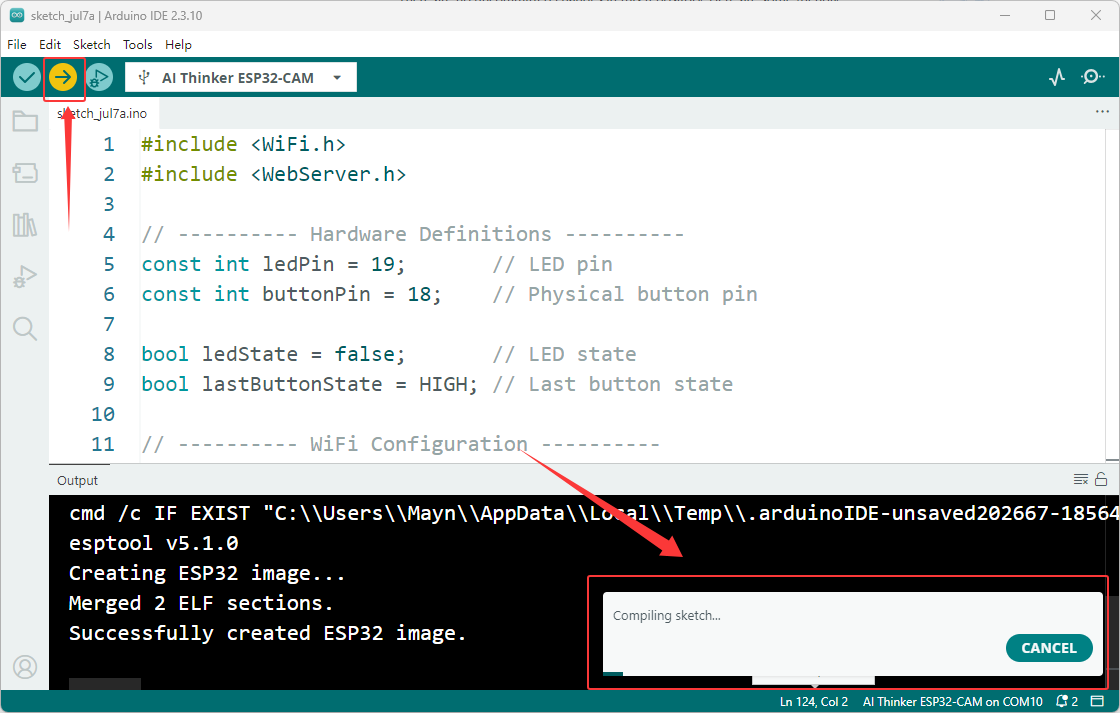
After the sketch compiles successfully, upload it to the ESP32.
Click Upload in the Arduino IDE.
Wait until the progress bar reaches the end.
If upload fails, hold BOOT while clicking Upload, then release it when the upload starts.
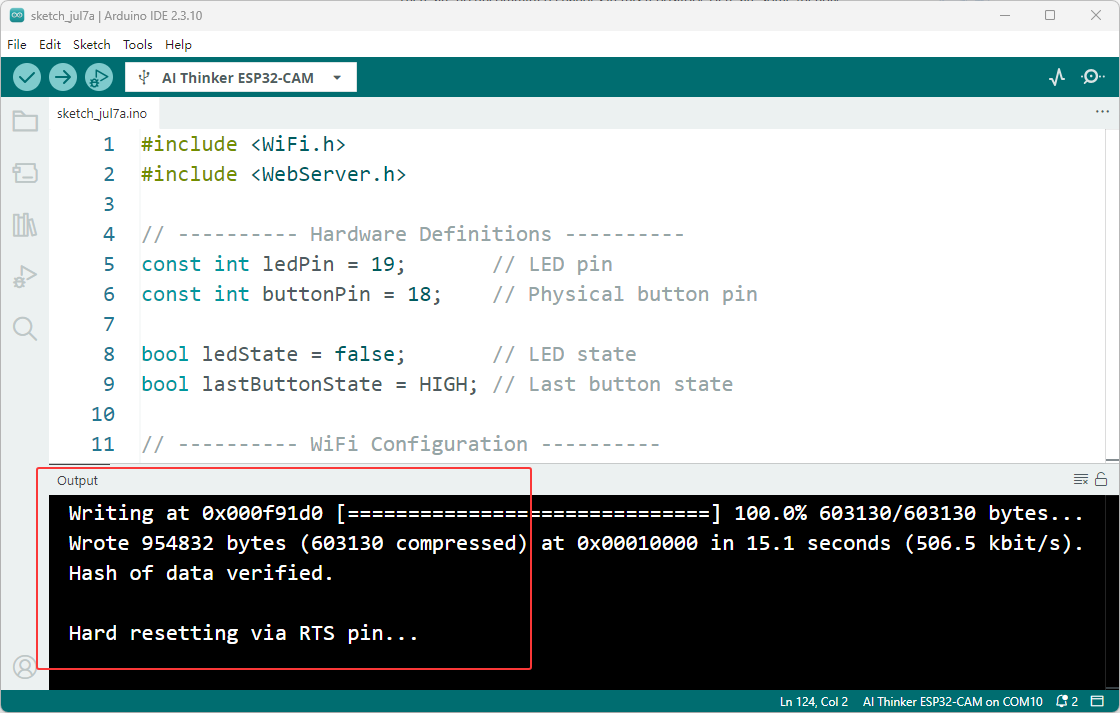
Note
The upload process may take 30 to 60 seconds depending on the size of the sketch and the board model.